How to make mig33 login software [Part 4]
Hello My mig33 developer Friends 🙂
I’m really sorry to start this Tutorial lately. Today i will try to show you how to make a simple Mig33 login project.
Can you remember Previous Tutorial ? You must Follow this.
Open Mig33 folder from your Desktop . Open Project1.vdp
Take One textbox .
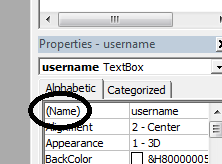
Click On that Textbox and Go to properties Tab. Give a name > username
Follow the above instruction and take 4 more textbox
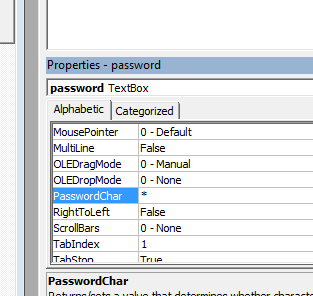
2 Textbox Name : password
In password properties Make > PasswordChar = * < like the Image Below .
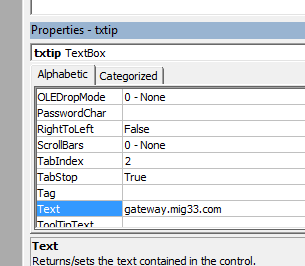
3 Textbox Name : txtip
In txtip properties Make text = gateway.mig33.com
4 Textbox Name : txtport
In txtport properties Make text = 9119
5 Textbox Name : sts
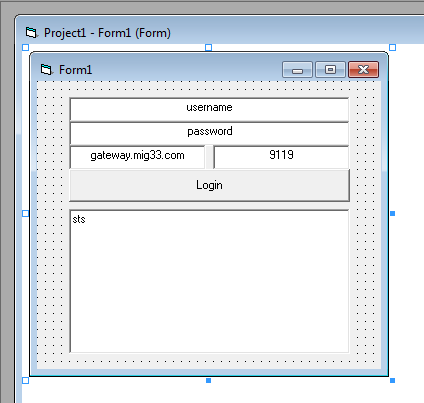
Now Take a Command Button Name : login
In login properties Make text = Login
You will get a Form like above Picture.

Click on Form . Right click > View Code . Just like above Image.
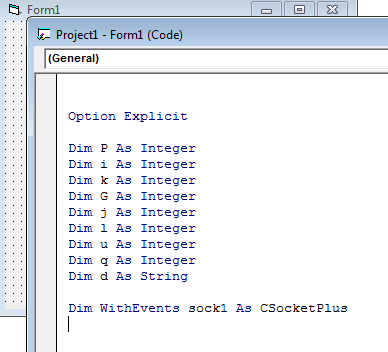
‘——————————————————————————–
Option Explicit
Dim P As Integer
Dim i As Integer
Dim k As Integer
Dim G As Integer
Dim j As Integer
Dim l As Integer
Dim u As Integer
Dim q As Integer
Dim d As String
Dim WithEvents sock1 As CSocketPlus
‘——————————————————————————–
Now copy the above code and pest it in General Event (like above Picture).
Double click On Form And Put the code In form Load Event .
‘——————————————————————————–
Set sock1 = New CSocketPlus
‘——————————————————————————–
Single Click on Form. Double Click on Login Button
‘——————————————————————————–
If login.Caption = “Login” Then
login.Caption = “LogOut”
sock1.ArrayAdd 1
sock1.CloseSck 1
sock1.Connect 1, txtip.text, txtport.text
Else
If login.Caption = “LogOut” Then
login.Caption = “Login”
sock1.CloseSck 1
sock1.ArrayRemove 1
End If
End If
‘——————————————————————————–
Put the above code in Login Button click Event. Check the Picture Below.

Now click On the Circle area like the Picture Below. Click > Sock1
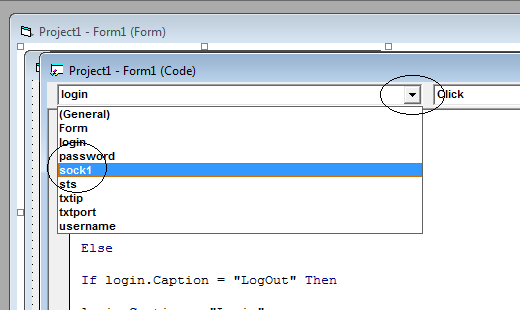
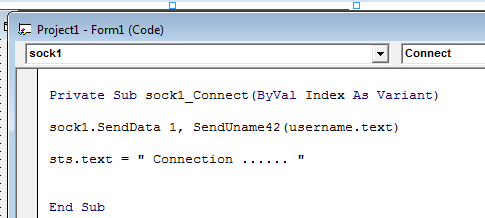
Now click Sock1 Event box > Select > Connect
Now Put the code Below.
‘——————————————————————————–
sock1.SendData 1, SendUname42(username.text)
sts.text = ” Connection …… ”
‘——————————————————————————–
Now click Sock1 Event > Select > Dataarrival
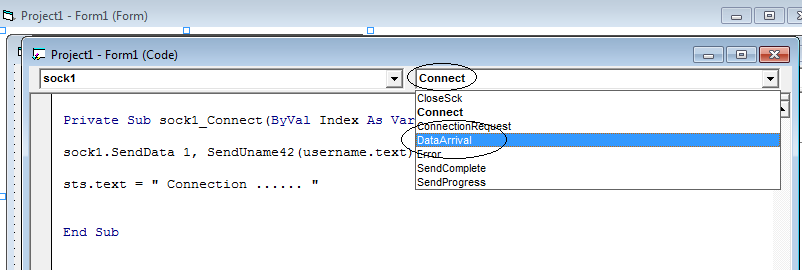
Check the above Image carefully. Put the Code below .
‘——————————————————————————–
sock1.GetData Index, dat$(Index), vbString
awal$(Index) = Asciitohex(Left(dat$(Index), 4))
awalana$(Index) = Asciitohex(Left(dat$(Index), 5))
If awal$(Index) = “2 0 C9 0” Then sock1.SendData Index, KirimHashCode(password.Text, Mid(dat(Index), InStr(dat(Index), H2A(“0 1 0 0 0”)) + 6, UnHex(A2H(Mid(dat(Index), InStr(dat(Index), H2A(“0 1 0 0 0”)) + 5, 1)))))
If awal$(Index) = “2 1 9C 0” Or awal$(Index) = “2 1 A6 0” Or awal$(Index) = “2 0 CB 0” Then
sts = “Login Successful !!!”
sts.ForeColor = vbBlue
Else
If awalana$(Index) = “2 0 0 0 2” Then
sts = “Wrong Password !!!”
sts.ForeColor = vbRed
sock1.CloseSck Index
sock1.Connect Index, txtip.Text, txtport.Text
End If
sts = Mid(dat$(Index), 16, UnHex(Asciitohex(Mid(dat$(Index), 15, 1))))
End If
‘——————————————————————————–
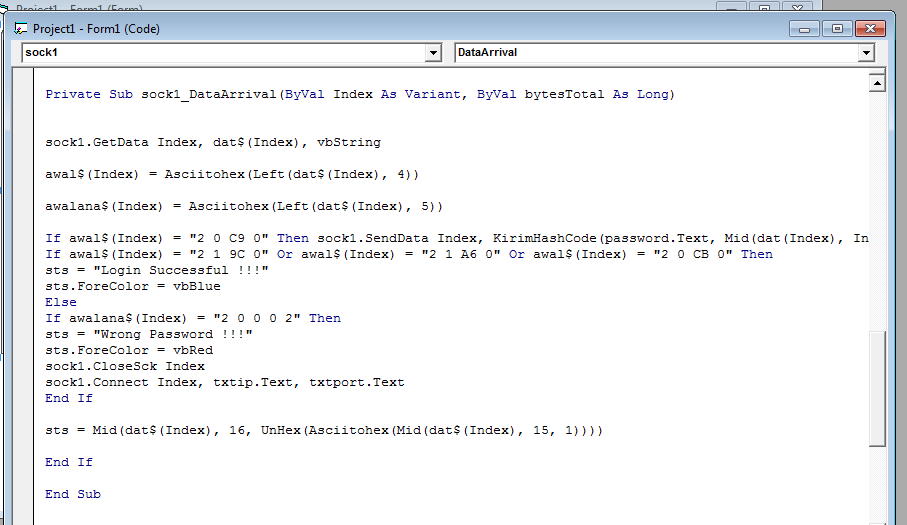
Please look at the image it looks like that.
Now run the Project [Press F5]
Put your username and password then Press >Login
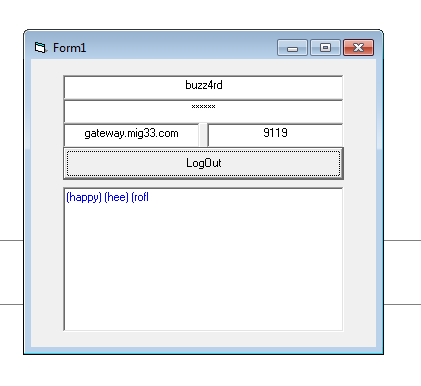
If you would follow the above instruction I hope you will be succeed to Make your 1st Mig33 software login project.
You may check the Project from Here Mig33 login project. But keep in Mind you must Practice without checking this Project. If you can make it without This I can assure you that you have done 40% of Mig33 programming 🙂
Next Tutorial coming soon with the basic Logic of this Tutorial. It’s just Only a Practice. If you want to Make exceptional Mig33 tool then you have to know the logic of Programming.
Keep practicing. Don’t forget to mention your Problem Here 🙂
Best of Luck !!!
How to make mig33 pc software [Part 1]
How to make mig33 pc software [Part 2]
thanksssssssssssssssss
Take One textbox :::[how to take,process plz]
Stunning quest there. What happened after? Good luck!